Mastering Pour-Over Techniques: A Guide for Specialty Coffee Lovers
Share
Pour-over coffee isn’t just a brewing method; it’s a ritual, a dance between precision and passion. For specialty coffee aficionados, mastering the pour-over technique is akin to a musician perfecting their instrument. It’s about control, nuance, and the relentless pursuit of that perfect cup.
The Essence of Pour-Over Brewing
At its core, pour-over brewing involves manually pouring hot water over coffee grounds, allowing gravity to extract the flavors into your cup. This method offers unparalleled control over brewing variables, making it a favorite among coffee purists.
Benefits:
-
Precision: Control over water temperature, pour rate, and brew time. 
-
Clarity: Produces a clean cup, highlighting the coffee’s nuanced flavors.
- Engagement: Transforms coffee-making into a mindful experience. 
Essential Equipment
To embark on this journey, ensure you have:
- Pour-Over Brewer: Devices like the Hario V60, Chemex, or Kalita Wave. 
- Gooseneck Kettle: For precise water pouring. 
- Coffee Grinder: A burr grinder ensures consistent grind size. 
- Digital Scale: For accurate coffee-to-water ratios. 
- Thermometer: To monitor water temperature. 
- Fresh Coffee Beans: Preferably single-origin, freshly roasted. 
The Variables That Matter
A) Water Temperature
The ideal water temperature for pour-over coffee is between 195°F and 205°F (90°C to 96°C). Water that’s too hot can over-extract, leading to bitterness, while too cool can under-extract, resulting in a sour taste.
B) Grind Size
A medium-fine grind is typically recommended. Too coarse, and the water flows too quickly, leading to under-extraction; too fine, and it slows down, causing over-extraction.
C) Coffee-to-Water Ratio
A common starting point is a 1:16 ratio—1 gram of coffee to 16 grams of water. Adjust according to taste preferences.
D) Pour Rate and Technique
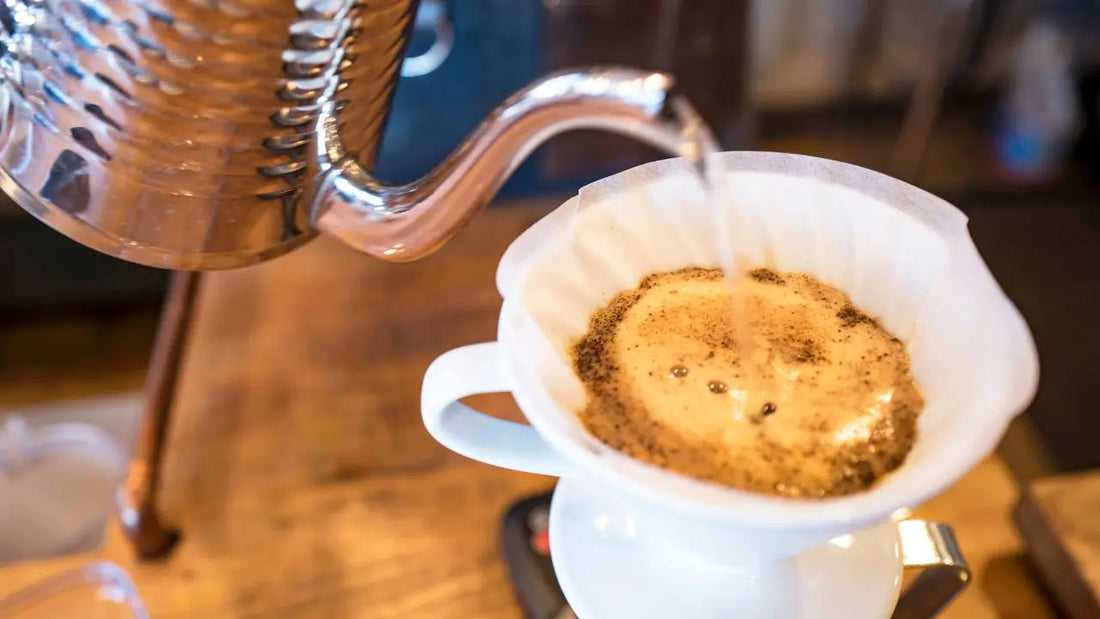
Bloom: Start by pouring twice the weight of coffee in water to saturate the grounds, allowing gases to escape.
Main Pour: Continue pouring in a slow, circular motion, maintaining a consistent flow to ensure even extraction. 
E) Brew Time
Aim for a total brew time of 3 to 4 minutes. This can vary based on grind size and pour rate.
Step-by-Step Brewing Guide
-
Boil Water: Heat water to the desired temperature. 
-
Grind Coffee: Grind your beans to a medium-fine consistency. 
-
Prepare Filter: Place the filter in your brewer and rinse with hot water to eliminate paper taste and preheat the brewer. 
-
Add Coffee: Place the ground coffee into the filter.
-
Bloom: Pour twice the weight of coffee in water (e.g., 30g water for 15g coffee) and let it sit for 30-45 seconds.
-
Main Pour: Continue pouring water in a steady, circular motion until you reach the desired weight. 
-
Wait: Allow the water to drip through the grounds completely.
Serve: Remove the brewer, and enjoy your coffee.
Troubleshooting Common Issues
Bitter Taste: Water too hot or over-extraction. Try lowering the temperature or coarsening the grind.
Sour Taste: Water too cool or under-extraction. Increase the temperature or use a finer grind.
Slow Drip: Grind might be too fine. Adjust to a coarser setting.
Embracing the Ritual
Pour-over brewing is more than a method; it’s a meditative practice. Each step, from grinding to pouring, offers an opportunity to connect with the coffee, understanding its origin, flavor profile, and the nuances that make each cup unique.
Conclusion
Mastering pour-over techniques is a rewarding journey for any specialty coffee lover. By understanding and controlling the variables—water temperature, grind size, pour rate—you can unlock the full potential of your coffee beans, crafting a cup that’s truly your own.

